2 - Project Setup
In this chapter, we'll set up our project and our development process. We won't write any app-specific functionality yet. Instead, what we'll do is:
- Make a list of our stories to work on
- Get our development machine dependencies installed
- Get React installed and running
- Get linting and autoformatting working
- Get E2E and component tests running
- Get our tests running on CI
- Get our application automatically deploying to a hosting service
That's a lot, but we want to do it all before we write our first line of production code so that we have support in place for our agile process. And it won't take too long because we'll use powerful tools to help us get there. Once that's all in place, we'll be ready to start implementing our application's first feature in the next chapter.
Making a List of Stories
Agile developers often use the term "stories" to refer to units of work. This term emphasizes the fact that agile developers stay focused on delivering units of work that are useful to the user. Rather than "building out the data model" (which would not make for a very compelling tale!), a story would be more likely to be something like "users can see a list of restaurants they've entered."
Before we start our work, we need a way to track it. In this exercise it'll just be you working by yourself, so you could just keep a to-do list on paper or a to-do app if you like. But when doing agile development in a team environment, it's a good idea to have a shared tracker. Trello is a great flexible tool that is useful for tracking work.
If you want to try out Trello as part of this exercise, go to https://trello.com and sign up for a free account. Create a new board and name it "Opinion Ate". Create three columns: "To Do", "In Progress", and "Done". In the "To Do" column, add a card for each of the following stories:
- Set Up Development Environment
- Create App
- Set Up Autoformatting
- Set Up Tests On CI
- Set Up Automatic Deployment
- Fill In Readme
- List Restaurants
- Style App with Material Design
- Show Loading and Error States
- Add Restaurants
If you'd rather not use Trello, make a list of the above stories in your project management tool or todo list app of your choice.
Setting Up Development Environment
Our first task is "Set Up Development Environment". In Trello, drag that card to the "In Progress" column.
Here are the tools we'll need to install:
- Git
- Node
- Yarn
- An editor
Git
Version control is essential for all developers, and if you're an agile developer it gives you even more benefits. You'll be taking a lot of small steps, and you need to be able to track them to make sure they aren't lost. Although we won't get into it in this book, focused and well-explained commit messages are essential for communicating to your teammates as well. Git is probably the most popular version control tool right now. We'll use GitHub for source control as well as for pull requests and CI functionality.
As of the time of writing, the latest version of git is 2.35.1. You can run git --version to check what version you have installed. But as we're using only the most basic git features, if you're running an older version, it's unlikely to cause problems.
Node
We'll be using Create React App as our build tool. Like most frontend build tools, it runs on top of Node.js, so you'll need Node installed locally.
Node's "LTS" (long-term support) version is recommended for most users. As of the time of writing, the LTS version is 16.15.0. You can run node -v to check what version you have installed.
Yarn
Yarn 1.x is a client for npm, the Node package manager service. npm has its own client, but I find Yarn to be faster, more predictable, and more reliable. I would recommend Yarn for any JavaScript project.
The latest major version of Yarn is 2.x. It is a significant architectural change, and many Node ecosystem tools don't yet support it. This exercise uses the previous major version instead, Yarn 1.x. If you install Yarn via the instructions linked above, Yarn 1.x is what you'll have available. The latest version as of time of writing is 1.22.18. You can run yarn -v to check what version you have installed.
If you'd prefer to use npm, you can still follow this exercise, you'll just need to replace any yarn commands with the equivalent npm commands.
An Editor
There is a wide variety of editors that are good for React development. Two popular free ones are Visual Studio Code and Atom.
Once you have git, Node, Yarn, and an editor set up, you're done setting up your development environment. Drag the "Set Up Development Environment" story to the "Done" column in Trello.
Creating the App
Our next story is "Create App"; drag it to "In Progress".
Create a new React app:
$ yarn create react-app --scripts-version 5.0.1 opinion-ate
The --scripts-version option should ensure you get the same version of the react-scripts package as this book, to minimize the chance of incompatibilities.
Create React App will start the installation process. When it completes, your application will be created and ready to use.
Open package.json and note the scripts we have available:
startto run the app locallybuildto create a release build of the apptestto run unit tests, including React component testsejectfor if we ever want to move away from Create React App
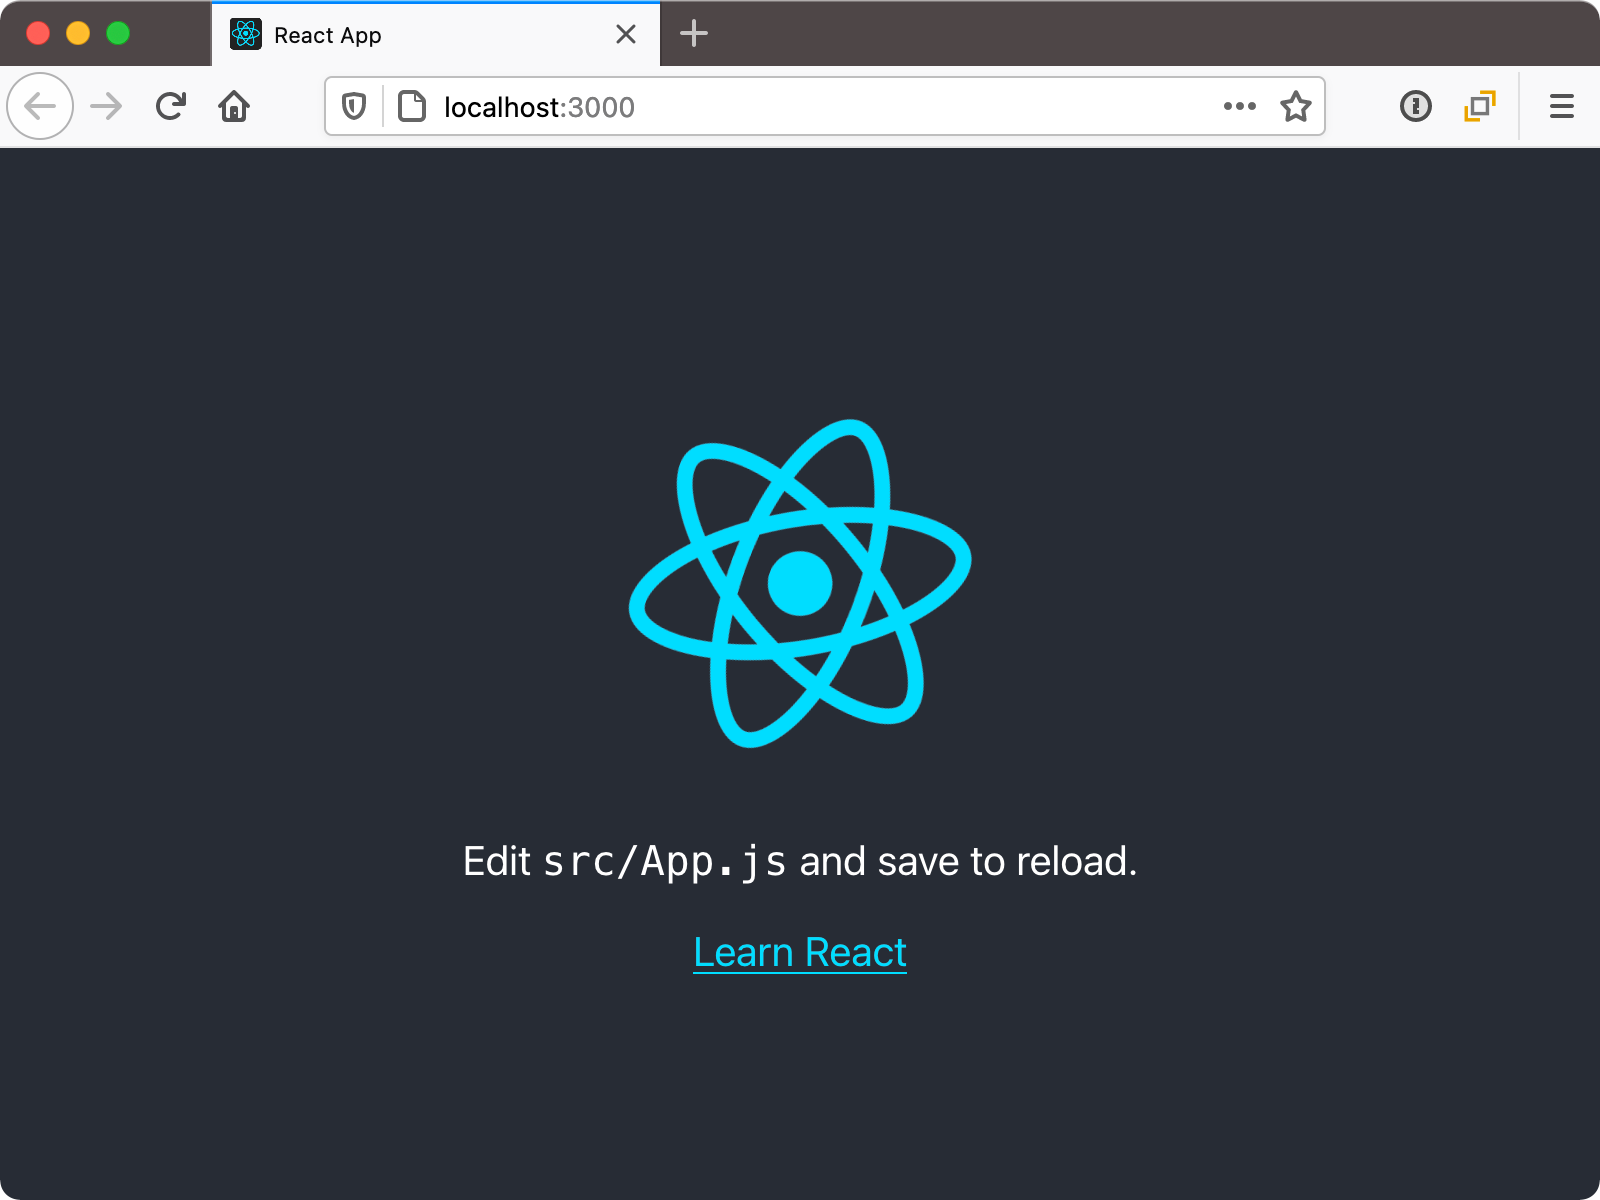
Let's try it out. Run yarn start. Your app should automatically open in your default browser, with a spinning React logo.
In the console you'll see output like the following:
Compiled successfully!

You can now view opinion-ate in the browser.

  Local:            http://localhost:3000
  On Your Network:  http://10.0.1.7:3000

Note that the development build is not optimized.
To create a production build, use yarn build.

webpack compiled successfully
With this, we can move our "Create App" task in Trello to "Done".
Setting Up Autoformatting
Our next story is "Set Up Autoformatting"; drag it to "In Progress".
Create React App includes a built-in ESLint config to check your code for issues while it runs. We can extend this config by adding Prettier autoformatting and support for the Cypress test files we'll be adding.
Add this rather lengthy list of packages:
$ yarn add --dev eslint-config-prettier@8.5.0 \
                 eslint-plugin-cypress@2.12.1 \
                 eslint-plugin-prettier@4.0.0 \
                 prettier@2.6.2
Then open package.json and update the "eslintConfig" key to match the following:
"eslintConfig": {
  "extends": [
    "react-app",
    "react-app/jest",
    "prettier"
  ],
  "plugins": [
    "prettier",
    "cypress"
  ],
  "env": {
    "cypress/globals": true
  },
  "rules": {
    "prettier/prettier": "warn"
  }
},
Next, let's tweak the rules Prettier will use for autoformatting our code.
Add another entry to package.json called "prettier" and add the following:
"prettier": {
  "arrowParens": "avoid",
  "bracketSpacing": false,
  "singleQuote": true,
  "trailingComma": "all"
},
These options configure Prettier with some helpful options to match common JavaScript practice. It also makes git diffs a bit simpler to read, which is helpful not only for this book but also for code reviews in your own projects.
Now, set up ESLint integration with your editor. For example:
- Atom: linter-eslint
- VS Code: ESLint extension
After enabling this integration, you may need to restart your editor to make sure it picks up the latest config changes. Then open src/App.test.js. Notice the warning on line 1 inside the curly brackets: Prettier is suggesting removing the spaces inside the curlies. If you've enabled autoformatting on save, which I recommend, when you save the file those spaces will be removed automatically.
To make sure our app builds correctly, we need to make sure there are no lint warnings in any of the default JavaScript files created in our app. Create React App will let the app run locally with warnings, which is helpful to not slow down your work. But when you try a production build it will fail if there are any lint warnings, which is good to make sure we've handed any linting issues.
To help find and correct any lint issues in our app, let's set up an npm script to run the lint command. Add the following to package.json:
 "scripts": {
   "start": "react-scripts start",
   "build": "react-scripts build",
   "test": "react-scripts test",
+  "lint": "eslint src",
   "eject": "react-scripts eject"
 }
This command will run ESLint on all JavaScript files in our src/ directory.
Let's try it. Run yarn lint. Assuming your app was set up with the same version of react-scripts as mine, you should see the following warnings:
$ yarn lint
yarn run v1.22.18
$ eslint src

/Users/josh/apps/opinion-ate/src/index.js
  11:34  warning  Insert `,`  prettier/prettier

/Users/josh/apps/opinion-ate/src/reportWebVitals.js
  3:33  warning  Replace `·getCLS,·getFID,·getFCP,·getLCP,·getTTFB·` with
  `getCLS,·getFID,·getFCP,·getLCP,·getTTFB`  prettier/prettier

✖ 2 problems (0 errors, 2 warnings)
  0 errors and 2 warnings potentially fixable with the `--fix` option.

✨  Done in 1.55s.
Notice the message that says "2 warnings potentially fixable with the --fix option". ESLint's autofix functionality ran earlier when we saved our file in the editor. The --fix flag is how you can use this autofix functionality from the command line.
Run yarn lint --fix. If all the warnings you got were autofixable, the command should complete without any warnings. Run git status and you should see all the files that you got warnings about have changes applied.
Let's go ahead and commit these configuration changes to linting and formatting. Small, focused commits make it easier for other developers to review, and keep us accountable to really understanding what is changing in our code. Create React App initializes our app with a git repo, so we can just add the changes:
$ git add .
$ git commit -m "Set up linting and autoformatting"
With this, we can drag "Set Up Autoformatting" to "Done".
Running Tests on CI
Next is "Set Up Tests on CI"; drag it to "In Progress".
Create React App automatically sets up an example component test for us. Before we run that test on our CI server, let's confirm it works for us locally. Open src/App.test.js. Note that it's testing the App component. Now run yarn test. You may get a note "No tests found related to files changed since last commit." If so, press the "A" key to run all tests.
You should see the following:
PASS  src/App.test.js
 ✓ renders learn react link (32ms)

Test Suites: 1 passed, 1 total
Tests:       1 passed, 1 total
Snapshots:   0 total
Time:        1.816s
Ran all test suites.

Watch Usage: Press w to show more.
By default, Jest continues running in the terminal so that tests will automatically rerun as we make changes to our code. For now, press ctrl-C to leave the test runner.
Now we need to install Cypress for end-to-end tests. Run:
$ yarn add --dev cypress@9.6.0
When it completes, in your package.json, add a new script:
 "scripts": {
   "start": "react-scripts start",
   "build": "react-scripts build",
   "test": "react-scripts test",
+  "cypress": "cypress open",
   "lint": "eslint src",
   "eject": "react-scripts eject"
 }
Now run that command:
$ yarn cypress
A Cypress window will open. You'll see a blue message that says "We've created some sample test files…". Click "No thanks, delete example files", then "Yes, delete files". Then quit Cypress and rerun yarn cypress to restart it.
Now let's tweak some of the files Cypress created. In the root of your project, there should now be a cypress.json file. Open it and replace the contents with:
{
  "baseUrl": "http://localhost:3000"
}
This configures Cypress to interpret all relative URLs relative to the root of our local React app.
Now, open the cypress/integration folder Cypress created. Create a file smoke.spec.js and add the following contents:
describe('Smoke Test', () => {
  it('can view the home page', () => {
    cy.visit('/');
    cy.contains('Learn React');
  });
});
This test will load up the root of our app and confirm it can see the text "Learn React" on it.
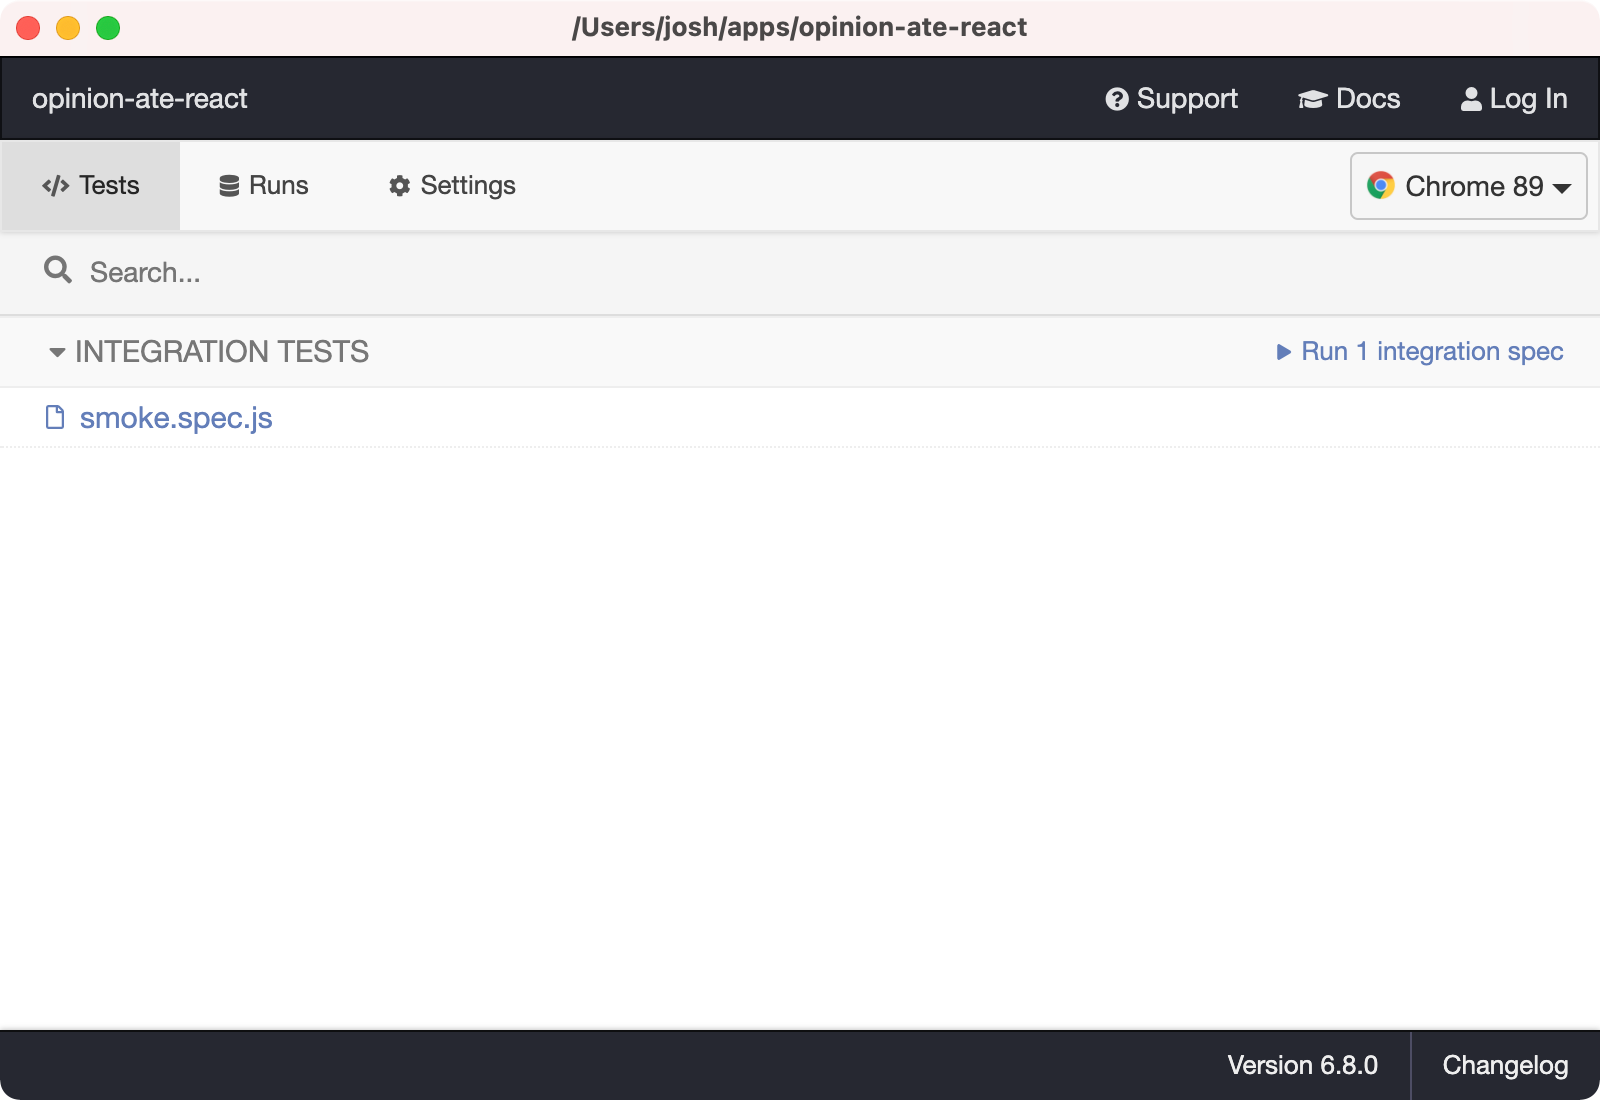
Now, back in the Cypress window, you should see the list updated to only contain our smoke.spec.js test.
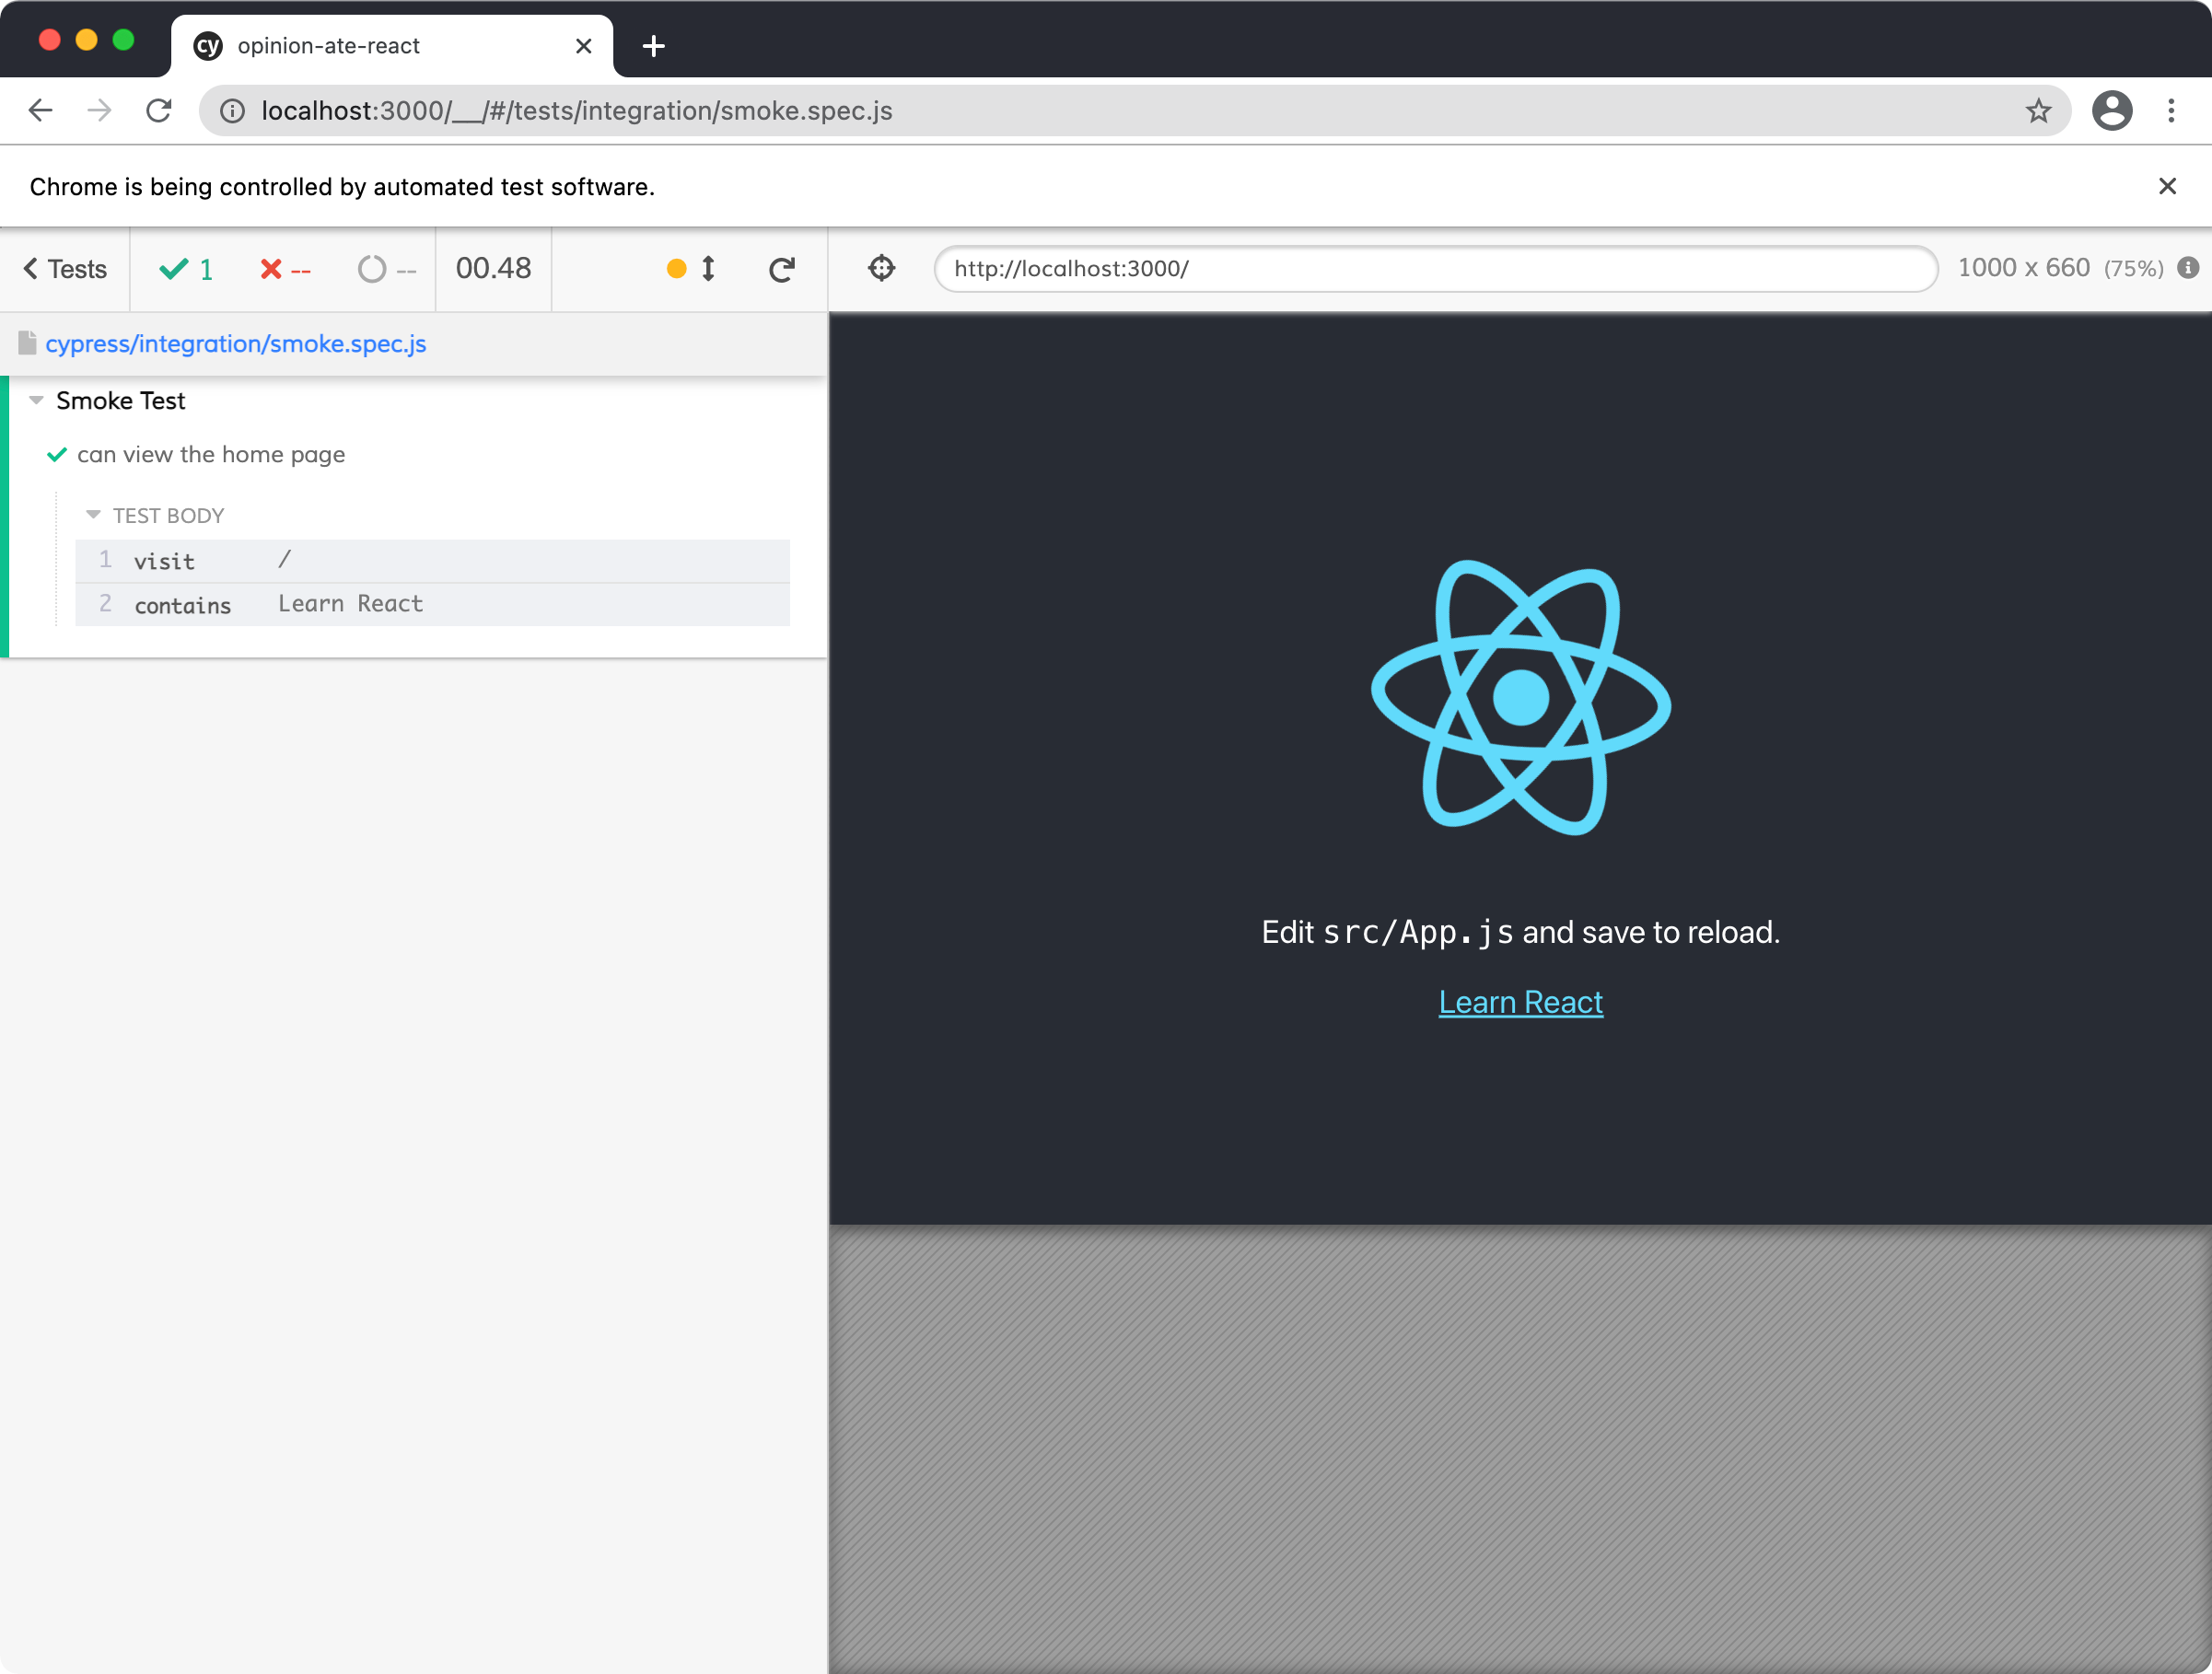
Click on smoke.spec.js. A new instance of Chrome will open and you'll see the Cypress test runner interface. On the left is our "Smoke Test" and a series of steps, which should pass. On the right is our app.
Add the new Cypress files to git:
$ git add .
$ git commit -m "Set up Cypress E2E tests"
When Create React App creates our project, it initializes a git repo and adds our code to it. Let's push it up to GitHub. On github.com, create a new GitHub repo under your account. Name it something like "opinion-ate".
Next, add it as the origin remote and push up the repo:
$ git remote add origin https://github.com/your-user-name/your-repo-name.git
$ git push --set-upstream origin main
In many development approaches, the next thing we would do would be to start building application functionality. After that, we might release to production. Later we might decide to try to add testing and continuous integration.
But we're going to go the opposite route in this book. We're going to set up CI and deployment from the very start, before we write a line of production code.
There are a number of great CI services with free starter plans, including CircleCI and GitHub Actions. For this exercise we'll go with GitHub Actions: it has a great feature set and is easy to reach for because every GitHub repo is set up for Actions automatically.
So far we've been making commits directly to our main branch, but once we start our feature work we'll use git branches instead. To get into the habit of that workflow, let's start now by creating a ci branch:
$ git checkout -b ci
In your project, create a .github folder, then a workflows folder under that. Then, inside .github/workflows/, create a file named test.yml. Add the following contents:
name: Test
on: [push]

jobs:
  test:
    name: Test
    runs-on: ubuntu-20.04
    steps:
      - uses: actions/checkout@v3
      - name: Install Dependencies
        run: yarn install --frozen-lockfile
      - name: Unit Tests
        run: yarn test --watchAll=false
      - name: E2E Tests
        uses: cypress-io/github-action@v3.0.3
        with:
          start: yarn start
          wait-on: 'http://localhost:3000'
Here's what's going on in this file:
- We name the workflow "Test".
- We configure it to run any time code is pushed to the server. This means both PR branches and merges to the
mainbranch will be tested. - We configure a single job for the workflow, also named "Test".
- We configure it to run on a specific version of the Ubuntu distribution of Linux. You can also run on
ubuntu-latest, but having a fixed version can prevent unpredictable and difficult-to-troubleshoot incompatibilities between the OS and testing tools. - Now, we define the series of steps to run for the job. First, we use the GitHub Action
actions/checkoutto check out our code. - We install our Yarn dependencies. The
--frozen-lockfileflag is good to use on CI servers; it ensures Yarn will install exactly the versions that are in the lockfile instead of potentially updating them. This ensures that the versions running on CI are identical to what you're running locally. - We run our unit tests. The
--watchAll=falseflag ensures they won't continue running and watching for file changes; they just run once. - We run our E2E tests, using a GitHub Action helpfully provided by Cypress. We tell the action to start our React development server and to wait until it can see the running server before beginning the test suite.
Commit this test.yml file, then push up your changes to GitHub:
$ git add .
$ git commit -m "Set up test action"
$ git push -u origin ci
In the console output, GitHub will give you a URL to create a pull request. Open it in the browser, and click "Create pull request".
Underneath the PR description box and your commit, you should see a yellow "Some checks haven't completed yet" warning; this box shows the continuous integration checks that are running on your PR. Right now we only have one check, our GitHub Actions workflow, represented by the line that says "Test / Test (push)".
Next to the "Test / Test (push)" line, click the "Details" link. You'll see an outline showing our GitHub Action steps running.
When the test run succeeds, the action will be marked as passed. If you go back to the Conversation tab of your PR, in the checks box you'll see a green "All checks have passed" message.
Go ahead and click "Merge pull request", then "Confirm merge", then "Delete branch".
In your local project, switch back to main and pull down the latest changes that we merged in from the branch:
$ git checkout main
$ git pull
With this, we can drag the "Set Up Tests On CI" task to "Done" in Trello.
Setting Up Automatic Deployment
Our next task is "Set Up Automatic Deployment"; drag it to "In Progress" in Trello.
Now we're going to go ahead and deploy our application to production. Yes, even though it doesn't do anything yet!
First let's see how a production build works locally. Run yarn build. The files are written to a build folder in your project. Open it and see static assets including HTML, JS, and CSS files. Due to the way the file paths work, you can't just open the HTML file in the browser, but they'll work when deployed to a server.
There are many ways to deploy frontend apps. One easy way is a service like Netlify that is set up to run your frontend build process for you. Netlify has a free Starter plan for individual users. You don't need to provide a credit card, but just keep an eye out for emails about approaching your monthly limit of build minutes: if you go over the limit you'll need to pay for more minutes or your sites will be shut down.
Create a Netlify account from Netlify's Sign Up page. Since we will need to give it access to GitHub anyway, it might make sense to sign up with your GitHub account.
Once you're signed in, click "Add new site", then "Import an existing project". Click the "GitHub" button. A list of all your repos will appear. Search for your repo and click it.
Next you'll be shown a "Site settings" screen allowing you to configure the build for the project. Use the following settings:
- Leave "Owner" and "Branch to deploy" with their default values.
- Under "Basic build settings", leave "Base directory" empty.
- You should see "Build command" pre-populated with
yarn build, andbuildfor the "Publish directory". Netlify has automatically detected that we're using Create React App and entered the settings for us. This means that Netlify will run that command, then take the files in that directory and deploy them.
Once those values are configured, click "Deploy site".
You will be sent to the Site Overview page for your new site. In orange you'll see "Site deploy in progress".
Click the "Site deploy in progress" link and you'll be taken to the Deploys page. In a list at the bottom you'll see "Production: main@HEAD Building".
Click "Production: main@HEAD Building". You'll see a console log of output as the site is being built. Eventually you'll see a "Site is live" message.
Click "< Deploys" to go back to the Deploys tab. If you waited for the deployment to complete, at the top in green you'll see the name of your site, with an automatically-assigned set of nonsense words and characters. For example, mine was kind-hodgkin-4b86e5.
Click the green link in your browser. You should get the "Learn React" page that is what our application was configured with when we created it.
Now let's rename the Netlify site to be a bit easier to remember. Go back to Netlify, then click the "Site overview" tab, then "Site settings" button. Under "General" > "Site details" > "Site information", click "Change site name".
In the dialog that appears, enter any site name you like and click Save. For example, I changed mine to opinion-ate-react. You'll need to choose something different since I already took that one!
At the top of this screen, under "Settings for", your updated site URL will appear in gray. Mine is opinion-ate-react.netlify.app. Click on your new site URL to be taken there, and confirm your site is working at that URL.
With this, we can drag "Set Up Automatic Deployment" to "Done" in Trello.
We've made great progress so far! Our app is configured to run its tests on CI and automatically deploy to production. We had a little setup work to do, but the defaults provided by Create React App, GitHub Actions, and Netlify went a long way toward simplifying the process.
Filling In the Readme
Our final setup task before we begin developing features is "Fill In Readme". Drag it to "In Progress" in Trello.
It's important to write down useful information to help future developers (including yourself) work on the app. Open README.md and see what Create React App created for us by default. It's a straightforward readme that lists the NPM scripts available, as well as links to learn more about Create React App. Any time you're working on a project with a readme that doesn't already have commands listed for how to run, test, and build the app, I would recommend adding them.
Let's add a description of the project and link to production, filling in your Netlify domain:
-# Getting Started with Create React App
+# opinion-ate
+
+An app for tracking reviews of dishes at different restaurants.
+
+Production: <https://your-netlify-domain.netlify.app>

 This project was bootstrapped with
 [Create React App](https://github.com/facebook/create-react-app).
Something important to note in the readme is that, if another developer uses npm instead of yarn, it won't check the lockfile and so they won't get the right versions of dependencies. Let's make a note about this:
 Production: https://your-netlify-domain.netlify.com/
+
+Dependencies are locked with a `yarn.lock` file, so please use `yarn` instead
+of `npm` to install them.

 This project was bootstrapped with
 [Create React App](https://github.com/facebook/create-react-app).
Commit these README changes to git and push them up to GitHub.
With this, we can drag "Fill In Readme" to "Done" in Trello.
What's Next
Now all our project setup is done and we're ready to work on our first feature! In the next chapter we'll get to the meat of the exercise: building a feature using the outside-in TDD loop.